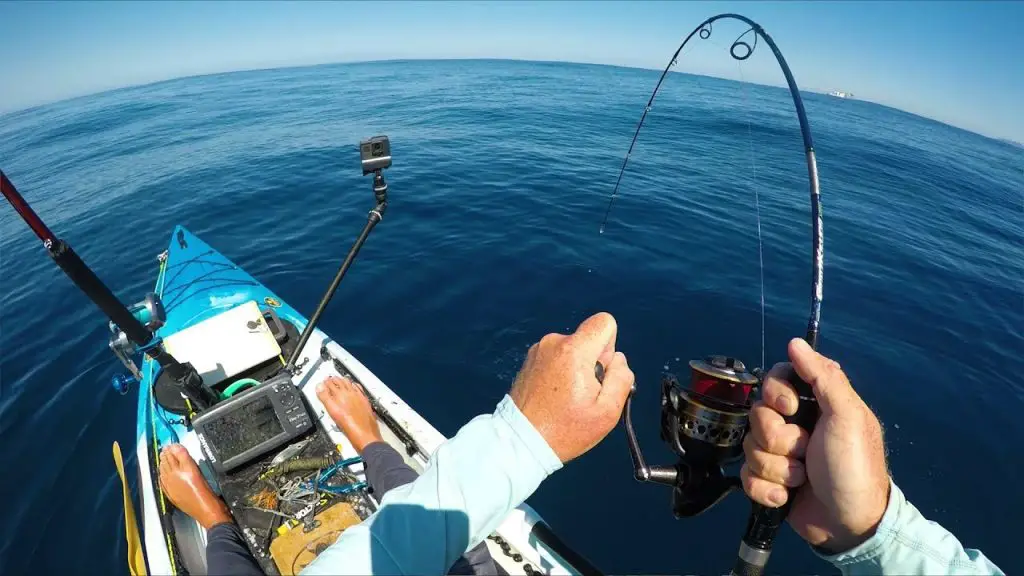
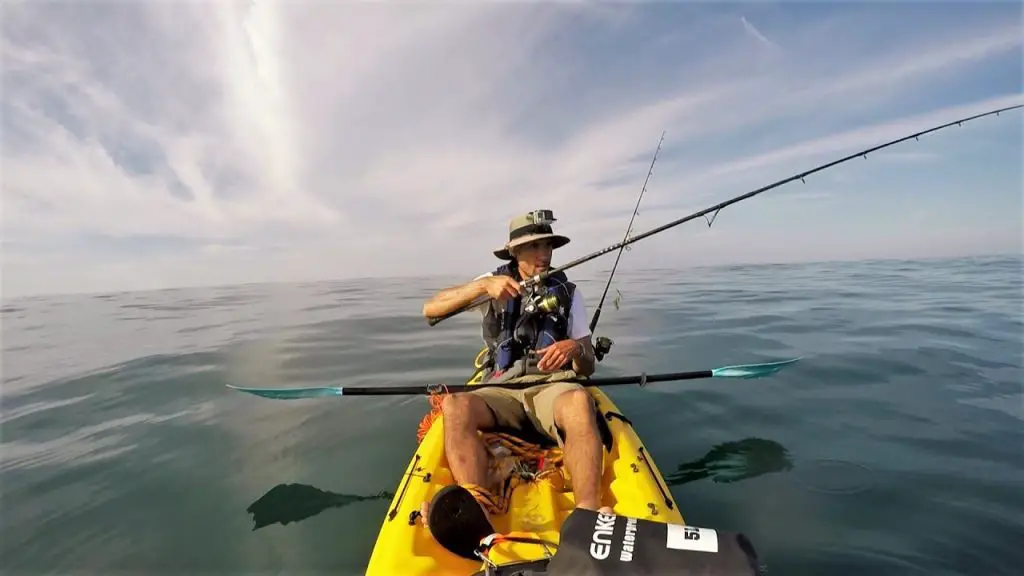
To land a fish in a kayak, maintain stability and rod pressure while reeling in. Position the kayak at an angle to the fish, and use a long-handled landing net to scoop it up once close. Secure the fish using lip grippers, then remove the hook, take a photo, and release or store the catch.
There’s a unique level of skill when it comes to landing a fish in a kayak. This skill becomes extremely important when you’re fishing for larger species of fish as there are certain risks to both losing the fish and tipping your kayak over as you try to land it.
We’ve compiled this article to serve as a handy guide if you’re not familiar with how to land a fish in a kayak. In the following sections, we’ll provide some of our expert tips and advice when it comes to landing big fish in a kayak.
Table of Contents
Organization is Key
First, and foremost, is organization. When it comes to kayak fishing, having all your gear neatly organized is absolutely essential as you’re going to be working with very limited space. I’ve had to learn the hard way that having certain items on the edge of my kayak or unsecured will always lead to disaster. This can come in the form of losing valuable tools and gear items overboard, or losing your fish as you take precious time fumbling around, getting gear out of the way so you can reel your catch alongside the kayak.
If you’ve ever watched professional kayak anglers, you’ll notice one thing about every single one of them. That each of these anglers have all their gear situated in a way that allows them to handle and land a fish at any moment. You never know when you’ll have to land a trophy-sized fish that weighs double-digits, but if you want to be prepared for it to happen, organization is the first and most important step.
Landing Fish With a Net
Being able to land a keeper-sized fish in your kayak takes skill and precision, as well as a cool demeanor. Obviously, having a net in your kayak goes a long way in helping to gain control of them and bring them into your kayak. If you’re going to be landing a fish in your kayak without a net, you can skip ahead to the next section. Here are some tips for landing a fish in a kayak with a net.
It’s essential to have your net handy for when you’ll need it. This means storing it in an easy-to-reach location that doesn’t require you to spend precious time opening hatches or untangling the netting. I like to keep my net in one of the rod-holder slots on my crate in the stern’s storage well. Other times, I prefer to keep the net between my legs or fastened to the paddle-parker on the side of the yak.

How to Land a Fish in a Kayak
There’s a certain technique that I always use when landing fish in my kayak—especially big fish that might be tournament-winners. If you’re not familiar with this technique, don’t worry. By practicing on a regular basis, you’ll develop muscle memory and you’ll know what to do when you have a true lunker on the end of your rod.
Here are the steps that I use to land a fish in a kayak, whether I’m using a net or not.
Step 1 – Fight the Fish
You’ll want to reel the fish up close enough to your kayak before you begin to try to land it. One of the most devastating rookie mistakes that beginner anglers make is reeling their fish all the way up to the tip of their rod and trying to either pull it into the kayak or reach down and grab it while it’s at the tip. This will only end badly for you and your equipment as it’s very easy to break the rod tip if you try this, but it’s also easy to lose the fish as you take the pressure off the hook-point and allow the fish a chance to wriggle free.
I like to reel the fish up until I have roughly 6 feet of line between the tip of my rod and the fish. Depending on the length of your rod, you might want to have a shorter or longer length by one foot or so. Having this amount of line allows you to maintain the same angle of pressure on the fish and the hook-point so you’ll lessen the chances of it getting loose.
Step 2 – Land the Fish
This is the part of landing a fish in which you’ll either grab your net or try to lip the fish (if it doesn’t have teeth) and get it into your kayak. The key to this second step is maintaining the same angle of pressure on the fish that you’ve had while fighting it toward your kayak.
The angle of pressure is basically the position you have your rod while fighting the fish. As many experienced anglers know, changing the position of your rod too quickly when fighting a fish usually leads to the hook coming free and you losing the fish. This is because the hook is in the fish’s mouth at a certain angle and changing your rod position, or angle of pressure, means changing the way that fish is hooked.
Knowing that it’s important to maintain the same angle of pressure on your fish, you’ll need to move your hand position on the rod. Since I’m a right-handed angler, I’ll be explaining this from that perspective. If you’re a lefty, simply do the opposite of the following instructions.
If I’m fishing with a baitcaster, I’ll have the rod in my left hand and I’ll be reeling with my right hand. Once I have the fish at the right position (6 feet from the tip of my rod) I’ll continue holding the rod at an upward angle, applying slight pressure to ensure that the hook doesn’t move. As I’m doing this, I will grab the rod with my right hand and reposition my left hand so that it’s above the reel on my rod.
Having my hand above the reel allows me to essentially shorten the rod’s length in my hand, which gets me closer to the fish. It’s important that you maintain pressure on the rod so that the fish stays in the same position. It’s true that bass and other species of fish like to give one last effort to wriggle free in this position, so be careful when making the swap and grabbing the rod above the reel.
Step 3 – Net the Fish
Grab your net with your free hand, which in my case is my right hand. If you don’t have a net, you’ll use the same technique up until this point, but you’ll now get ready to lip the fish. What you need to do at this point is pivot the rod so that the tip comes toward you, yet you maintain pressure on your hook-point.
To do this, you’ll need to extend your left arm outward while holding the rod. Maintain a firm grip on the rod as you make this maneuver, but you’ll want to bring the tip closer to your position. Be sure to also keep the rod tip pointed upward to maintain pressure on your hook. The purpose of doing this is to shift the rod tip toward you so that you can net or lip the fish once it comes within reach.
You’ll only have a few seconds to accomplish this move before the angle of pressure will change and you risk losing your catch. It’s essential that you secure your fish in the net or by the lip quickly as you don’t want to increase the risk of losing your fish, as well as your rod.
Step 4 – Set Aside Your Rod
Now is the time when you should be placing your rod in a rod holder. One of the worst mistakes you can make in trying to land a fish in a kayak is forgetting about your rod and letting it slide into the water. This can happen a lot easier than you think and it usually occurs when an angler has a trophy-sized fish. It’s easy to get caught up in celebrating and admiring your catch that you forget about the rod itself.
Once you place the rod into the rod holder, you’re ready to remove the hook. This might take some time if you’re using a net as treble hooks can get caught in the net. Whether you’re using a net or lipping the fish, you’ll need to make absolutely sure that the lure is placed in a way that you won’t risk getting hooked.
This is basically the last step to landing a fish in a kayak. Many anglers easily forget about their lure and the hook and get distracted in their celebration of the catch, or as they work to either weigh or measure the fish. By making sure your lure and hooks are out of the way, you’ll ensure that you won’t get it snagged on yourself or anything around you.

Other Tips and Advice
You must allow the fish to tire itself out before you ever start to initiate the landing process. If you try to land a fish that’s full of energy and adrenaline, you’re going to tip the scales in the fish’s favor and risk losing it.
I usually try to work the fish until I begin to see it turn it’s belly upward as this indicates a sort of ‘surrender’ from the fish and that it’s ready to give in. It’s understandable that you might speed up the process in your excitement when fishing in a tournament and having a big fish on the line. Do so at your own peril. It’s best to allow the fish to tire out first so the rest of the process of landing it will be much easier.
Remember that many fish will make a last-ditch effort to escape once you get them to your kayak. This is either out of the fish’s instinct to evade being caught and eaten, or that it becomes startled as it first sees what has caught it. In either case, be ready for the fish to begin wriggling and flopping at any moment.
Conclusion
It’s important to note that you shouldn’t take too much time fighting the fish as this will cause it undue amounts of stress and might lessen the chances of it surviving if you plan to release it. There are different techniques you’ll use if you’re trying to land an exceptionally large fish in your kayak, or one that you might want to keep and eat later.
Be sure to practice these steps seriously every time and don’t cheat by pulling small fish over the side and into the kayak. If you practice with each fish you catch, you’ll build up experience and confidence in your skill and technique. Then, once you catch a trophy-sized fish, you’ll be ready to execute your landing technique like a pro.
